Families often tell us they love are the icons that show up on the pixel displays of Yoto Players and Yoto Minis alongside stories, music or activities.
They’re a great way to create an extra layer of interest and interaction with the listeners; a visual element that enhances the listening experience and doesn’t distract, in a way that a screen might.
When making your own Yoto cards there’s the chance to add your own icons to chapters or songs or sound effects you might create. You can do that in three ways:
Using icons from the Yoto Make Your Own Library, which contains over 250 icons and counting
Sourcing icons and uploading them
Creating and uploading your own icons (which we’ll cover in a following post)
Tap or click the playlist you want to customise
Tap or click the artist palette icon next to a track
Choose an icon
A quick note - if you want to add the same icon to all of your tracks on a card, remember to click the Apply to all tracks checkbox before you choose your icon
2. Using an icon you’ve found online
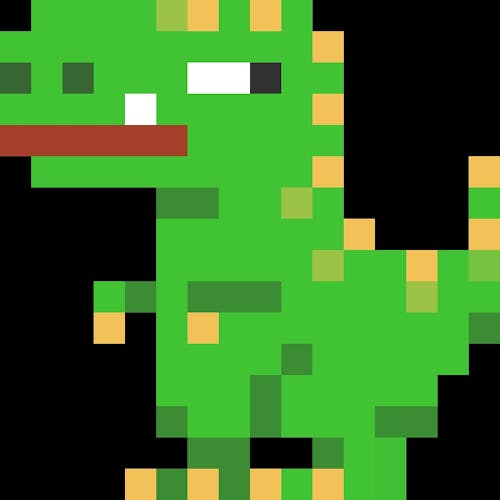
There are really vibrant communities of 16 x 16 pixel art creators around the world that offer their creations for use free of charge. One amazing place for finding icons that others have created is https://www.yotoicons.com/. This has been created by an awesome group of Yoto loving families and are available to download and use for free.
Steps to add icons:
Tap or click the playlist you want to customise
Tap or click the artist palette icon next to a track
Tap or click the My Icons tab
Upload your icon
Tap your new icon to select it
A quick tip - if you want to add the same icon to all of your tracks on a card, remember to click the Apply to all tracks checkbox before you choose your icon
An extra tip - You can upload icons in PNG, GIF, JPG, TIF or SVG format. For best results prepare your image as a 16x16 pixels PNG with a transparent back.